Each website page has a specific address, just like a home or business. In website jargon this is called the “URL” or uniform resource locator. The technical details of how typing the URL into the address bar (or clicking a link) actually brings up the specific webpage can get a bit complicated. On a simple level it involves back and forth communication between the web browser (Chrome, Edge, etc.) and the server, which is where the website is “hosted” which basically just means where all the files, images, and data for the website live. Along the way there is an “address lookup” which involves things like IP addresses, domain names, and DNS records.
What’s a Permalink?
WordPress uses something called a permalink to define the URL for each page, image, or other content on the site, and you might be familiar with this as one of the settings available to you from the WordPress dashboard. Today I’m going to give a brief overview of the options available to you with the permalinks settings. Note that you should ideally take the time to discuss and set these up with your web developer before launching a new site, as adjusting them on the fly can have serious negative repercussions for usability and SEO if not carefully considered and executed.

Basic Permalink Options in WordPress
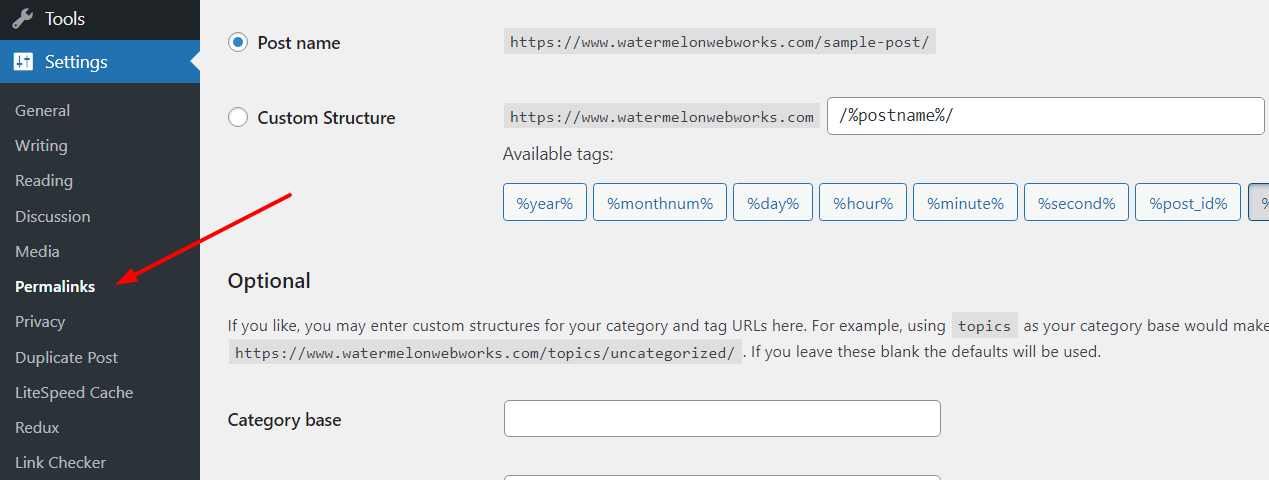
By default any new WordPress website will use a rather ugly and not user friendly permalink structure that looks like this: https://www.watermelonwebworks.com/?p=123. With the number at the end representing the specific post number on the site which could be a blog post, page, image, or any other kind of content. Not only is such a structure hard to remember and not very usable for your visitors, but it’s terrible for SEO, as ideally your URL should be representative of the content on the page, such as: https://www.watermelonwebworks.com/web-services/ . WordPress offers a number of built in options for what they call “pretty permalinks” (I guess to contrast the “ugly” format of ?p=123). These options are shown below and include: Day and name, Month and name, Numeric, Post name, and Custom Structure.

The above screenshot is fairly self explanatory as to the structure for each option, and you can see how the custom structure gives the flexibility to really fine tune the way you’d like your permalinks to display. Which setting you choose ultimately depends on your own preference as well as the purpose and content of your website. For example, if you have a simple site with less than 10 pages that fall into the typical pattern of: home, about us, contact, learn more, etc. you’re probably best off using the “post name” setting. Whereas if you have a site primarily for blogging and often post about the same topics, such as giving daily or monthly updates on some specific topic such as “Daily Snow Report” then you’d be better served using one of the formats that includes dates.
Additional Options
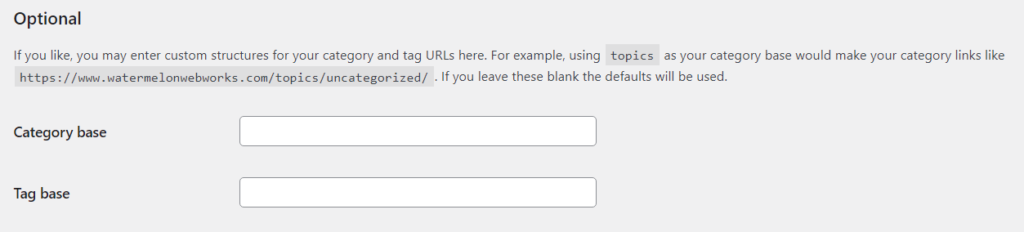
Below the main settings there are optional settings for how to display the built in category and tags permalinks. By default these pages will show like: https://www.watermelonwebworks.com/category/uncategorized/ but you can instead change the category or tag part of the URL to anything you wish, as per the example shown below for switching “category” to “topic”.
What’s a Slug?
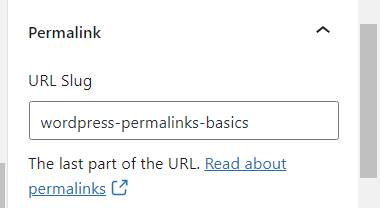
You may have noticed when you are editing an individual page or post, there is an option under the post tab for Permalink that lists the “URL Slug”. This is simply the last part of the URL structure, and can be edited on each piece of content you create. By default this is created by the title of the content you use, so for this blog post which is titled “WordPress Permalinks Basics” it inserts dashes between the words to create that URL slug. Oftentimes you’ll want to change this slug either for SEO value or to simply make it more user friendly in the case of a long title, and this setting is where you can do this. Adjusting this should ideally be done prior to the post being published, as changing it after it’s already been live on the web can create some SEO issues that will need to be addressed.
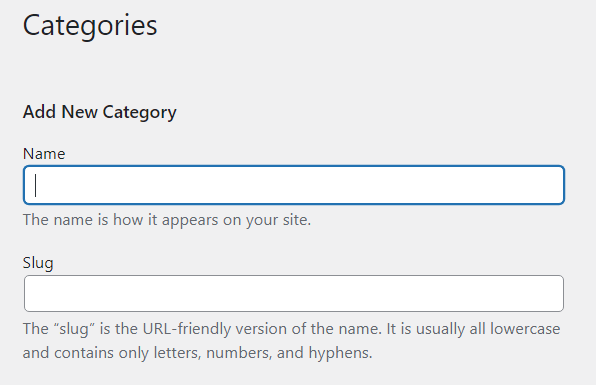
You can also change the slug for specific categories or tags in a very similar way when creating a new category or slug as shown below.
In addition to the above built in settings, there are a host of ways to further tweak and customize permalinks for the site, including for custom post types (ie. testimonials, team members, events, etc.). You can either do this using the help of a web developer, or using a plugin such as https://wordpress.org/plugins/custom-permalinks/ which allows you to change the permalink on a per post basis.
If you have any questions about permalinks or are looking for a unique configuration not available with the default WordPress options, we’d be happy to help you out!
Related Guides and Resources
- Why Your WordPress Site Is Not as Secure as You Think: Key Misconceptions In the rapidly evolving digital landscape of 2025, a secure online presence is non-negotiable for…